First Awards!

The lovely Aquariann passed on these awards to me-- my first ever blog awards! :) Apparently I am a Stylish and Versatile blogger. (Edit: Pink Scarf sent this to me, too!)


I'm now to tag 15 amazing bloggers... This is going to be difficult! I like too many blogs, but I want to tag artsy-craftsy-writing-creative blogs (I tag personal blogs on my own personal blog, which is mostly dead).

And the majority of the craft blogs I follow are the "big blogs" that I'm scared to tag. Heehee. :)

Here goes:


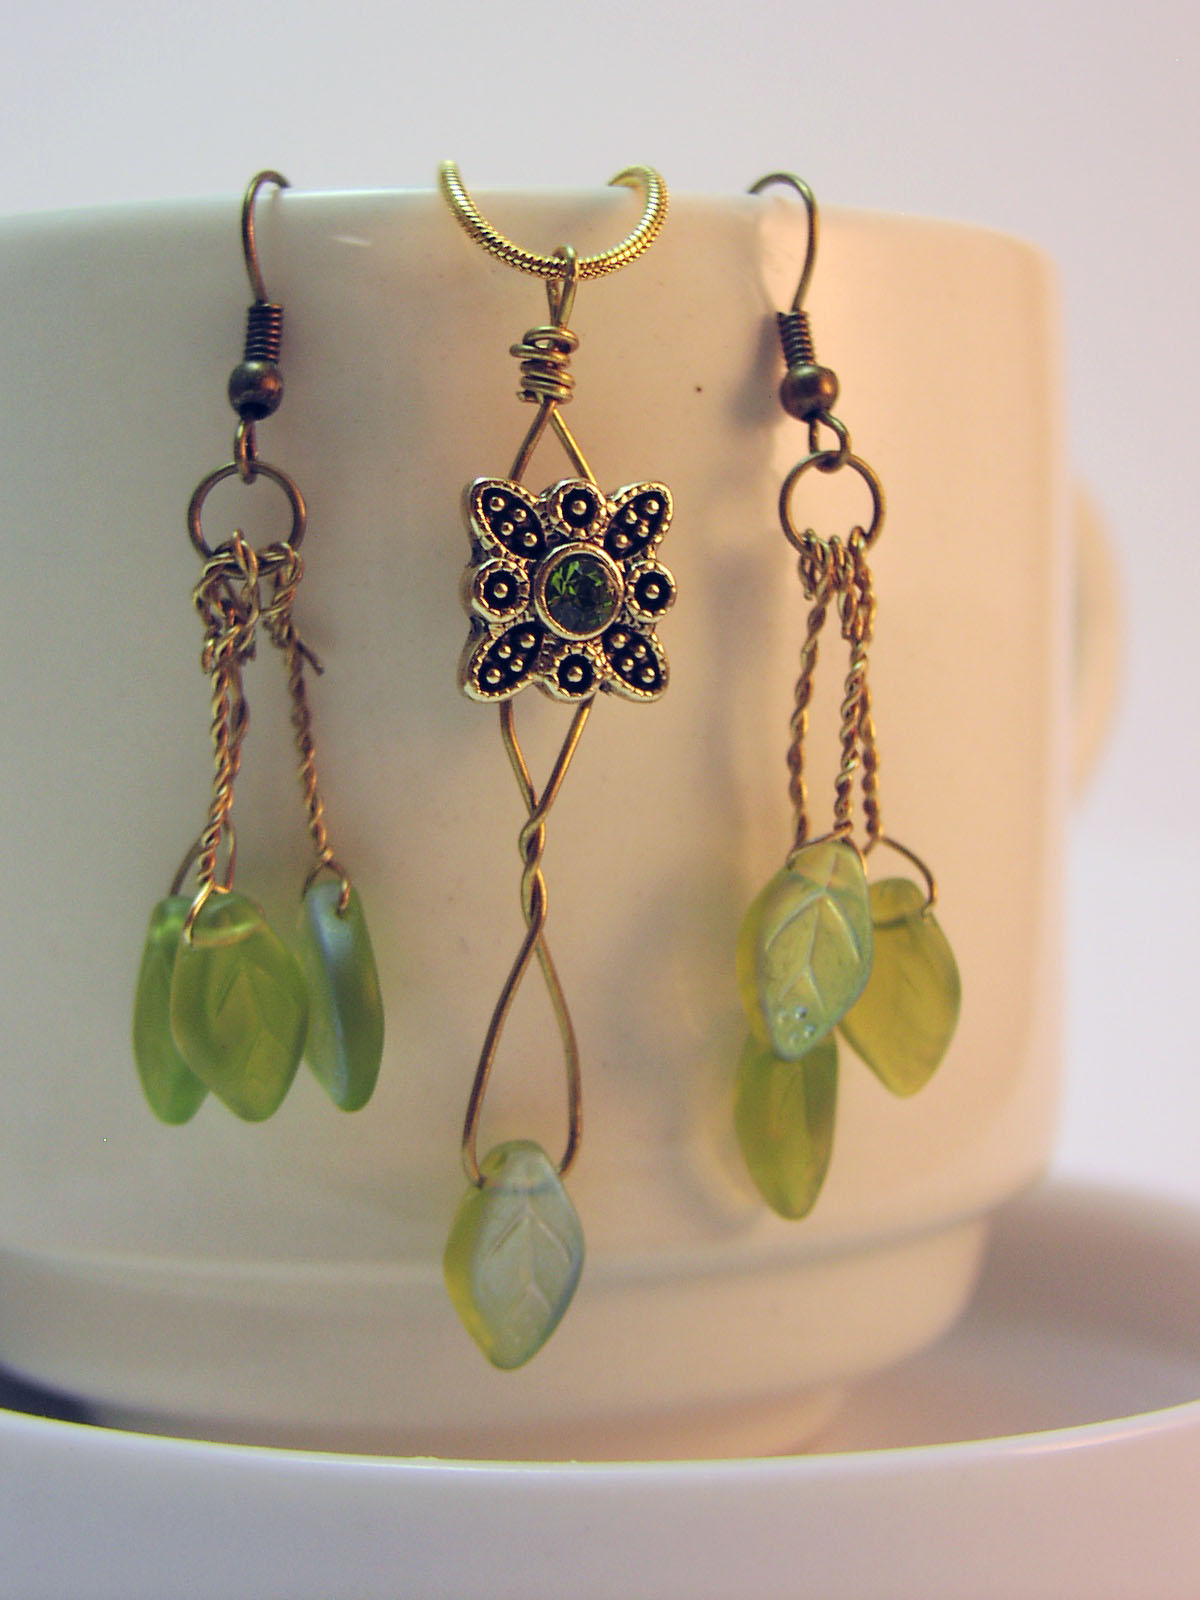
(a friend of mine discovering jewelry-making! very talented)

(ditto!!! and random fact: ElvenMaiden is learning German with me!)

Thyme2Dream
(beautiful fantasy jewelry-- the ones who inspired me to find leaf beads)

(pretty photography)

(modest and vintage-y fashion)

AmandaBeth
(a blog about fashion and life)

(a friend of mine who writes about life, books, movies, and writing)

(a blog of daily paintings!)

(beautiful artwork)

 Recently discovered blogs:
(I bloghopped around a bit to find some random, creative blogs to tag. Ones I've never heard of before this. It all adds to the fun!)

Waltzing Matilda
(found while searching for a St. Thomas coloring page while babysitting my lil bro. What caught my eye? A LotR-themed birthday party. Eeep!)


A Celtic Cowgirl
(she loves horses, makes jewelry, and draws. 'nough said.)

Artisan of the Shire
(graphics and art, with a blog name to die for)

The Faithful Elven Princess
(another blog title to die for)

Distant Hoofbeats
(got to love the quote on her header! and she love acting, too!)

Ithilwen's Faerietale
(looks quite fantasy-ish!)


.
(Tagged blogs: Your mission, should you choose to accept it, is to jump over exploding piles of dynamite, tag 15 people, and share 7 things about yourself. And eat an ice cream cone. If you can't come up with 15 to tag, that's OK.)

(So I spiced up the instructions.... Still, go eat an ice cream cone, it's yummy.)

Alrighty, I usually don't do many tags, so here goes:

I also get to share 7 random things about myself:

I unicycle(Ich bin eine stolze Einradfahrerin!!!)  You already knew that. But what you didn't know is that I got a majorly awesome Nimbus Muni (mountain unicycle/all terrain unicycle) for Christmas. Now for the snow to go away...

Oh, wait... I don't let the snow stop me. It's just the ice...

My feet are very flat and wide. We actually went to a special store to get tennis shoes for me. Men's 9 1/2 6E Wide with orthodics (that's not wide... not double wide... not even quadruple wide... its 6 wide. What is that? Hexa wide? Very wide.). I've had them for two days and they feel funny. Hopefully they'll help. I've never been able to do even half a mile without some kind of cramp or tightness.

I've never been able to wear glamorous shoes. I need a hug. :)

I'm crazy and am doing an intense school curriculum. And I actually like it. Kolbe's Summa. I'm writing a good 2-4 essays a week. Ever wonder why I don't post daily?


I haven't done any paintings for a full year. (Why? We were moving, and my paints make a mess. And I haven't unpacked them yet. There's something called time and it doesn't exist for me.)


When I was little, I used to call my Grandma "That." (or so I've been told)


It drives me bonkers when people gush all over my stuff... I really, really appreciate words of encouragement or *cough* admiration, but I can't stand that oh-my-gosh-you-are-so-amazing-and-I'm-never-going-to-shut-up-about-it-and-hey!-random-person-walking-by-see-what-this-girl-made! *shudder*


I can't sing! Seriously. My range is an octave, if that, and I can't keep a tune. This makes my dreams of acting go waaaaaaay downhill. (I was in Pirates of Penzance once, with the most amazing group on the face of the planet, and I mimed. Yup-- not a peep out of my mouth the entire play long.)

My friend E. (left) and I after the show! My curls died in this picture!

    Steampunk Watch Pendant Tutorial

    I want to apologize for the scarcity and quality of the photos in this tutorial. The camera was acting up.


    DIY Steampunk Watch Pendant

    A necklace for modern steampunk fans. This necklace will blend into everyday outfits, only revealing its awesome steampunkyness upon closer glance. Who can resist watch parts and brown beads?

    You will need:

    • An old cheap watch
    • Thick fabric (I used two layers of this faux leather stuff left over from a costume)
    • Long, tubular beads
    • Circular beads
    • Strong glue (I used decopauge)
    • Needle
    • Thread
    • 1 jump ring
    Total cost: I used supplies on hand. Buying all the materials would cost around $5.
    If you have to use a watch wrench to open the watch back, it looks like it will run you around $10. (I need to get one of these).


    Step One: Take the watch apart. You will be using the movement, aka the little thing in the middle that makes the watch work.

    Keep the rest of the watch for other projects!
     
    I used the watch face { HERE }
    And the watch case { HERE }


    Also-- before doing anything with the movement, you might want to attack it with some pliers and needles. There are a bunch of small gears buried on the inside. If you gut the movement, those gears are worth keeping for future projects.

    NOTE: Unless you have specialty tools, it is very difficult to take the watch apart. I lucked into a watch whose back came off very easily.

    Right now, however, I have three watches sitting on my desk whose backs I can't remove. I actually broke my miniature flat-back screwdriver trying to take them apart. You may need to have special watch wrenches to get to the movement.


    Step Two: Cut out a circle of the fabric. (I used two layers and glued them back-to-back.) 

    Glue the movement on. (If the movement has holes in the plastic backing, sew it onto the fabric.)  

    Thread the needle and begin to sew on the long, tubular beads.


    Step Three: Continue to sew the long beads on. I thread three beads on before stitching into the fabric. If you sew tightly, this works wonderfully. Otherwise, stitch after each bead.


    Step Four: Sew the circular beads onto the outside. Use a simple loop stitch. The beads will be very messy and will not line up. That is OK.


    Step Five: Thread the needle through the holes of the circular beads. This fixes the messy outside beads problem.

    Step Six: Sew a jumpring on. Your chain will go through here.

    A view of the back. I am a messy sewer.

    The finished project. Here you can see that I glued a small metal leaf onto the movement, right where the battery used to be.

    Another one!

    Winter Blues SALE

    Just a wee little update on the Shoppe!

    I took the plunge and made my first ever Collection! So, yeah, it's all my stuff. I'm just learning, though. :)

    All the items shown in the collection (and more) are on sale-- 10% off!!! (Jan 2011) 

    Take advantage of it while you can!

    I thought we'd been having so much snow that you need something to cheer you up-- and these winter blues are pretty cheerful. :)

    ALSO-- Valentine's Day is coming up soon! I've been working hard on some pink and red jewelry. Keep checking the Shoppe as I upload more today!

    (There will be several sweet pink and red chainmaille jewelries, thanks to UnkamenGifts. I won a sample package of jump rings from them the last time I ordered, and they sent the prettiest package full of reds and pinks!)


    Steampunk

    Steampunk.

    Think Victiorian futuristic sci-fi.

    Also think of steam engine power, watches, goggles, pearls, brass, steamboats, lace, airships, time travel machines... Yeah, steampunk is a little hard to explain.

    (image source)
    (image source)
    (Jules Verne's books are considered some of the first steampunk stories.
    Random fact: did you know that there was never any mention of a hot-air ballon in Around the World in 80 Days? Wonder why the illustrations always have it.)


    The "official" definition of steampunk is "a sub-culture based on a genre of science-fiction set in Victorian times, when steam was the main source of machine power."


    For a better idea, I'll steer you towards:
    (Please view at your own risk. Some people do take the "punk" part of steampunk seriously.)

    (image source)

    When I first told Mom about it ("Hey, Mom, I want to see if my brown skirt looks steampunky!"), all I got was a blank stare and then a cautious glance. I guess the "punk" part threw her for a loop.

    I'm not a very "punky" person. :)

    But I love Steampunk! I'm especially fond of the aesthetic. It's very Neo-Victorian. Sometimes it is also very Art Nouveau, which makes me doubly happy.
    (For those who don't know, the Elvish look from the LotR movies was based on Art Nouveau styles. Hence the extra happiness. Because anything Elvish is Awesome.)

    I always do a very bad job explaining what Steampunk is, and I've managed to get pretty weird looks from some of my friends and especially my parents' friends.

    Oh, well. I'm not here to give a lecture on the origins and styles of Steampunk. I'm just here to say that I've been making some Steampunk jewelry and crafts!

    All those watches and necklaces and nicknacks and gizmos on Etsy and Artfire really got my creative juices flowing.

    Handcrafted Steampunk items are characterized by repurposed old jewelry, gears, brass, lace, and keys. And a million other things. (By the way... almost all Steampunk things are handcrafted. It's part of the charm, I think).

    I've actually been making so many steampunk things (and more to come, when I can get the rest of these old watches torn apart) that I have an entire category in my Shoppe for it.

    Here's some of my very first steampunk creations:


    Mine, my own, my precious. Made from the watch face from one of my grandpa's old watches.

    Trinkets! FOR SALE at my Shoppe!
    The watch case from the watch face shown above, with a bajillion charms inside and out. FOR SALE at the Shoppe!

    At the Shoppe
    Yeah, the Snitch is more HP than steampunk. Oh, well.


    An old watch I found in Grandma's basement. I fixed it, so she let me keep it. I have a whole blog post on it, { HERE }


    And I will have a tutorial on the design above-- very, very soon!


    Really random:
    (image source)
    For fans of G.K. Chesteron, like me, and for fans of steampunk, like me, check out the slightly weird and very creative book The Tripods Attack. Young Chesterton, myteries, and steam engines. For those IRL friends, I've got a copy if you want to borrow.

    Short Break

    Hello, dear Fairy Peoples!

    ...I think that nickname is going to stick. If you are reading this right now, please know that you will forever be known as a Fairy Person.
    (sinister laugh)

    I just wanted to let you know that there won't be any blog posts this week. I have exams. In every subject except Latin and German. Which means I'm spending all my spare time studying.

    I'm going to be SO GLAD when I am finished with Livy... I could care less about Roman wars. At least Plutarch's Roman Lives and Shakespeare's plays about Roman people are slightly interesting. People are more interesting than wars. :) And don't get me started on augmented matrices or the moles of polyatomic ions.

    Anyways, just letting you know. And maybe you can say some prayers for me that I survive?

    On that encouraging note I take my leave.


    Love,
    Shealynn

    *runs away screaming about evil little tests*

    How to make a Lightbox

    Hi, everyone. I'm having a few difficulties getting the pictures to upload. Since I got the really important pictures up, I decided to go ahead and publish the post. Check back in a day or to to see the example pictures.

    My Lightbox
    Do you want to know how to take great pictures? 
    Have you ever wondered how to get those crystal-clear white backgrounds?

    A lightbox is exactly what you need. They let you control the lighting and environment that your photos are taken in. They are especially good because they diffuse the light!

    Fancy lightboxes are available for hundreds of dollars, but a simpler and effective lightbox can be made with materials around the house.


    Supplies you will need:
    • A destroyable box. I used a "book size" moving box. Make sure that your box is the appropriate size for the items you will be photographing.
    • A lamp. Preferably two or more. "Natural light" lightbulbs are supposed to be the best, but I just use a florescent one. Detachable camera flashes and bright room or outdoor lighting work well, too.
    • Clear velum paper. I used tracing paper. Tissue paper and thin papers can also work.
    • A ruler.
    • Scissors. I also used one of those rolling knives. Cardboard can be hard to cut.
    • Tape. 
    • White poster-board or larger sheets of white paper.


    Cut an entire side off of the cardboard box. This will become the bottom of the box, the part that lies on the table.

    Tip: Don't break your knife while doing this.
    Next, trace a sheet of the velum paper on one side. Cut out that rectangle.


    Repeat for 3 sides.

    ^I made the far side pictured (the top of the finished box), larger than my sheet of paper. I simply used Scotch tape to combine two pieces of paper into a larger one.


    Tape the velum paper so that they cover the holes.

    (The box is pictured upside-down here).


    I turned the box right-side up for this picture.

    Tape a piece of white poster-board to the top back of the lightbox.

    Here is a picture of the finished lightbox!

    Set up a lamp to shine through the velum paper. I use one fluorescent light shining through the top for most of my photos.

    Hold the camera steady. It's a good idea to use a mini-tripod or a box to set the camera on.

    { Check out my tips for adjusting your camera settings to make the most out of your lightbox. }

    The big rule with a lightbox is NO FLASH unless it is indirect and shining through the velum paper.

    I kept the flaps on the box so that I can control any lighting coming from the front of the box.


    [IMAGE]
    You can use multiple lamps for lighting from different angels. 


    Be careful about mixing florescent and incandescent bulbs. I tend to get unbalanced images where one side is very white and the other side very yellow.

    It can be hard to edit such photos. ---->


    [IMAGE]

    Do you like to have that "rainbow background" effect? Place your object near the end of the lightbox, where the diffused light hits part and the lighting of your environment hits other parts. [IMAGE]

    [IMAGE]
     Use props! Everything from cups to fabric scraps to colored scrapbook paper will work wonders.

     [IMAGE]
     Having the hole in the bottom of the lightbox lets you use natural backgrounds.


    Here you can see what the inside of my lightbox looks like. I used 2 pieces of white scrapbook paper.

    Notice how the light from the lamp is diffused-- and how well the light bounces around the box!

    When light is diffused, it is essentially scattered. It is not as harsh. It's pretty much what clouds do to the sun.

    A photo taken from my lightbox.


    Questions or tips? Please leave a comment!
    Did YOU make this project? Please share a link! I'd love to see your lightbox and pictures you took with it!